Easy Whole Roasted Chicken any one can make

from:http://www.instructables.com/
Today I’m going to show you how you can easily make a complete whole roasted chicken! I will show you how to make a delicious meal along with one of the best gravies you've had.
At first this might seem like a daunting endeavor, but fear not! Anyone can make whole roast chicken with this simple recipe. The meal is perfect for any occasion you have anyone you either want to impress or enjoy a meal with!
The good thing about doing a cooking project is that you’ll probably have all the important tools whether you’re a novice, like me, or a professional.
If you enjoyed this recipe click the vote button in the upper right corner!
I went off to talk to grandma to know where I would start!
We need the following Things.
Step 1: Parts and tools
1

2

3

4

5

6

This recipe was for four people. I ate it with one other person so we had a lot of leftovers! I was also happy to learn that the ratio between ingredients really isn’t all that important. I used to adhere directly to recipes, but everything will always taste a bit different so loosen up while cooking!
Ingredients:
- Whole chicken
- I estimated about 300-400 grams per person
- Butter
- Two onions
- Two carrots
- A couple twigs of celery
- Parsnip
- Flour
Spices:
- Salt
- Pepper
- Herbs
- I used:
- Thyme
- Rosemary
- Oregano
- I used:
- Bay leafs
- Chicken bouillon
Tools:
- Oven pan
- Sauce pot
- Whisp
- Strainer
- Kitchen knife
- Carrot peeler
- Aluminum foil
Step 2: Making a bed for the chicken


If you just put the chicken in the oven it will get soggy from its own juices, but the meat will get dry. This is very easy to remedy and leaves us with a couple of resources for later.
If the chicken is directly placed onto a pan and put in the oven all the juices will run down into the pan and the meat will take on a boiled consistency. To avoid this we’ll make a platform or a bed for the chicken. The bed will be made from vegetables.
Start by rinsing all your vegetables in cold water, trim of the endings and peel the skin. Don’t throw it away! I’ll be showing you how to make the best gravy from all of this vegetable scrap.
Cut your vegetables into rough pieces nothing fancy and put them in the oven pan. This will be the little bed that our chicken lays on top off.
We’ll also want some spices here! Add some of your herbs dried or fresh doesn’t matter, a couple bay leafs and some salt and pepper.
Step 3: Butter chicken


Now we also want our chicken to get that crispy, golden brown, super tasty skin. To get this you need to lather the chicken in copious amounts of butter. It’s a good idea to leave the butter on the kitchen counter to warm up for a while before lathering.
When the butter is about room temperature take a large knob in your hands and really lather it on. Smear the butter all over the chicken skin. The butter should be clearly visible laying on top of the chicken.
I ended up using about 100 g of butter to cover a chicken of about 1.6 kg.
Pepper the chicken skin. If you salt the top of the chicken it might turn out dry which nobody likes to eat.
Step 4: Roasting


Put the chicken on top of the vegetable bed we just made. The bed doesn’t need to be spread over the whole pan. What’s important is that the chicken sits firmly elevated at least a cm from the bottom of the pan.
Chuck the chicken in a preheated oven on 200 degrees Celsius. Roast for an hour and a half.
When the time is up find a big fat piece on the side of the chicken and slice it open to check if it’s finished. If the meat is not visible pink and all the juices run clear it means your chicken is all done!
Put the chicken over in a deep plate and cover with aluminum foil, and preferably a kitchen towel. Keep all the vegetables laying at the bottom of the oven pan.
The chicken will lay and rest for about 20 minutes.
Step 5: Saucing it up


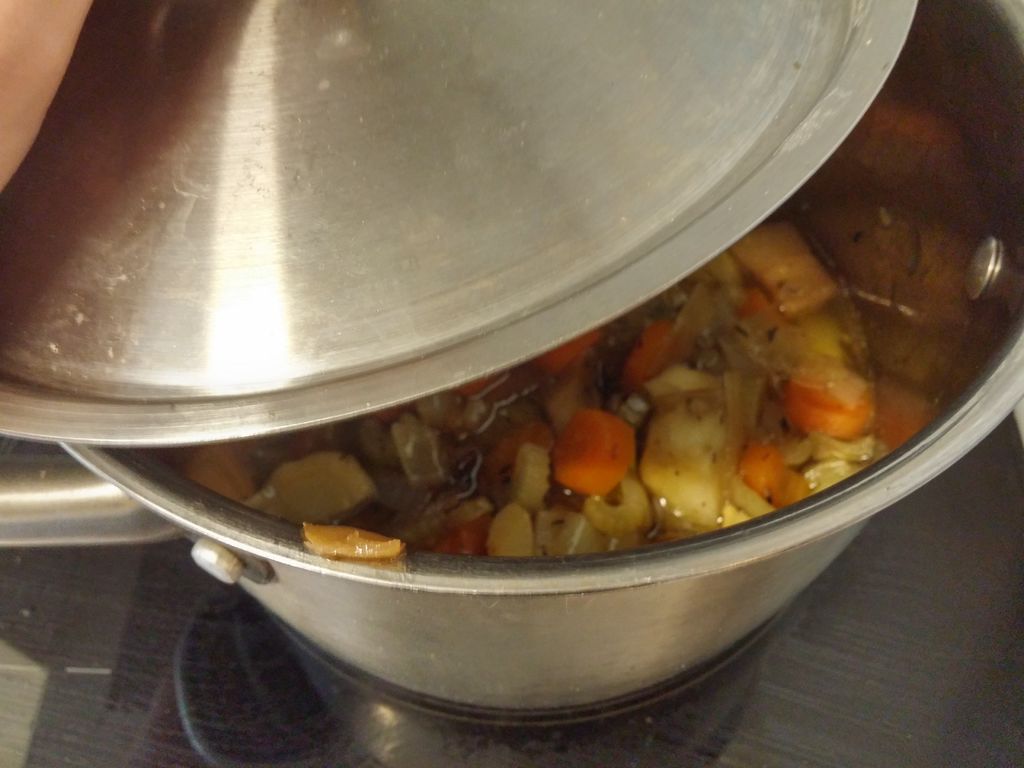


Step 6: The plot thickens


 |
| Add caption |


Now the gravy is still a bit runny to fix this we add some flour to thicken. The amount of flour depends on how thick you and your company prefer the gravy. While the pot is still on your oven you can add about two table spoons of white flour for every 300 ml of sauce you got.
After the chicken has been resting for about 20 minutes there's a lot of juices that have run into the plate. This juices are loaded with taste! So add these to the sauce as well.
When you’re about ready to serve the chicken, strain the gravy into whatever you want to serve it from. I just used another pot. Now, when you strain the vegetables it really helps to use a fork or spoon to mash the vegetables into the strainer. This releases more of the delicious juices.
The sauce contains taste components from every bit of ingredient in this dish. This works beautifully to tie the whole meal together!
Step 7: Making a side dish
You have a lot of options when it comes to side dishes. The chicken goes nicely with:
- Salad
- Potatoes
- Baked
- Mashed
- Fried
- Rice
- Roasted vegetables
- Risotto
I simply cut up some potatoes, chucked them in another oven pan and covered with salt, pepper, and olive oil. This goes in the oven along with the chicken for about an hour!
Step 8: Serving it up!


Your chicken and gravy is done and you're about ready to eat!


Leave a Comment